
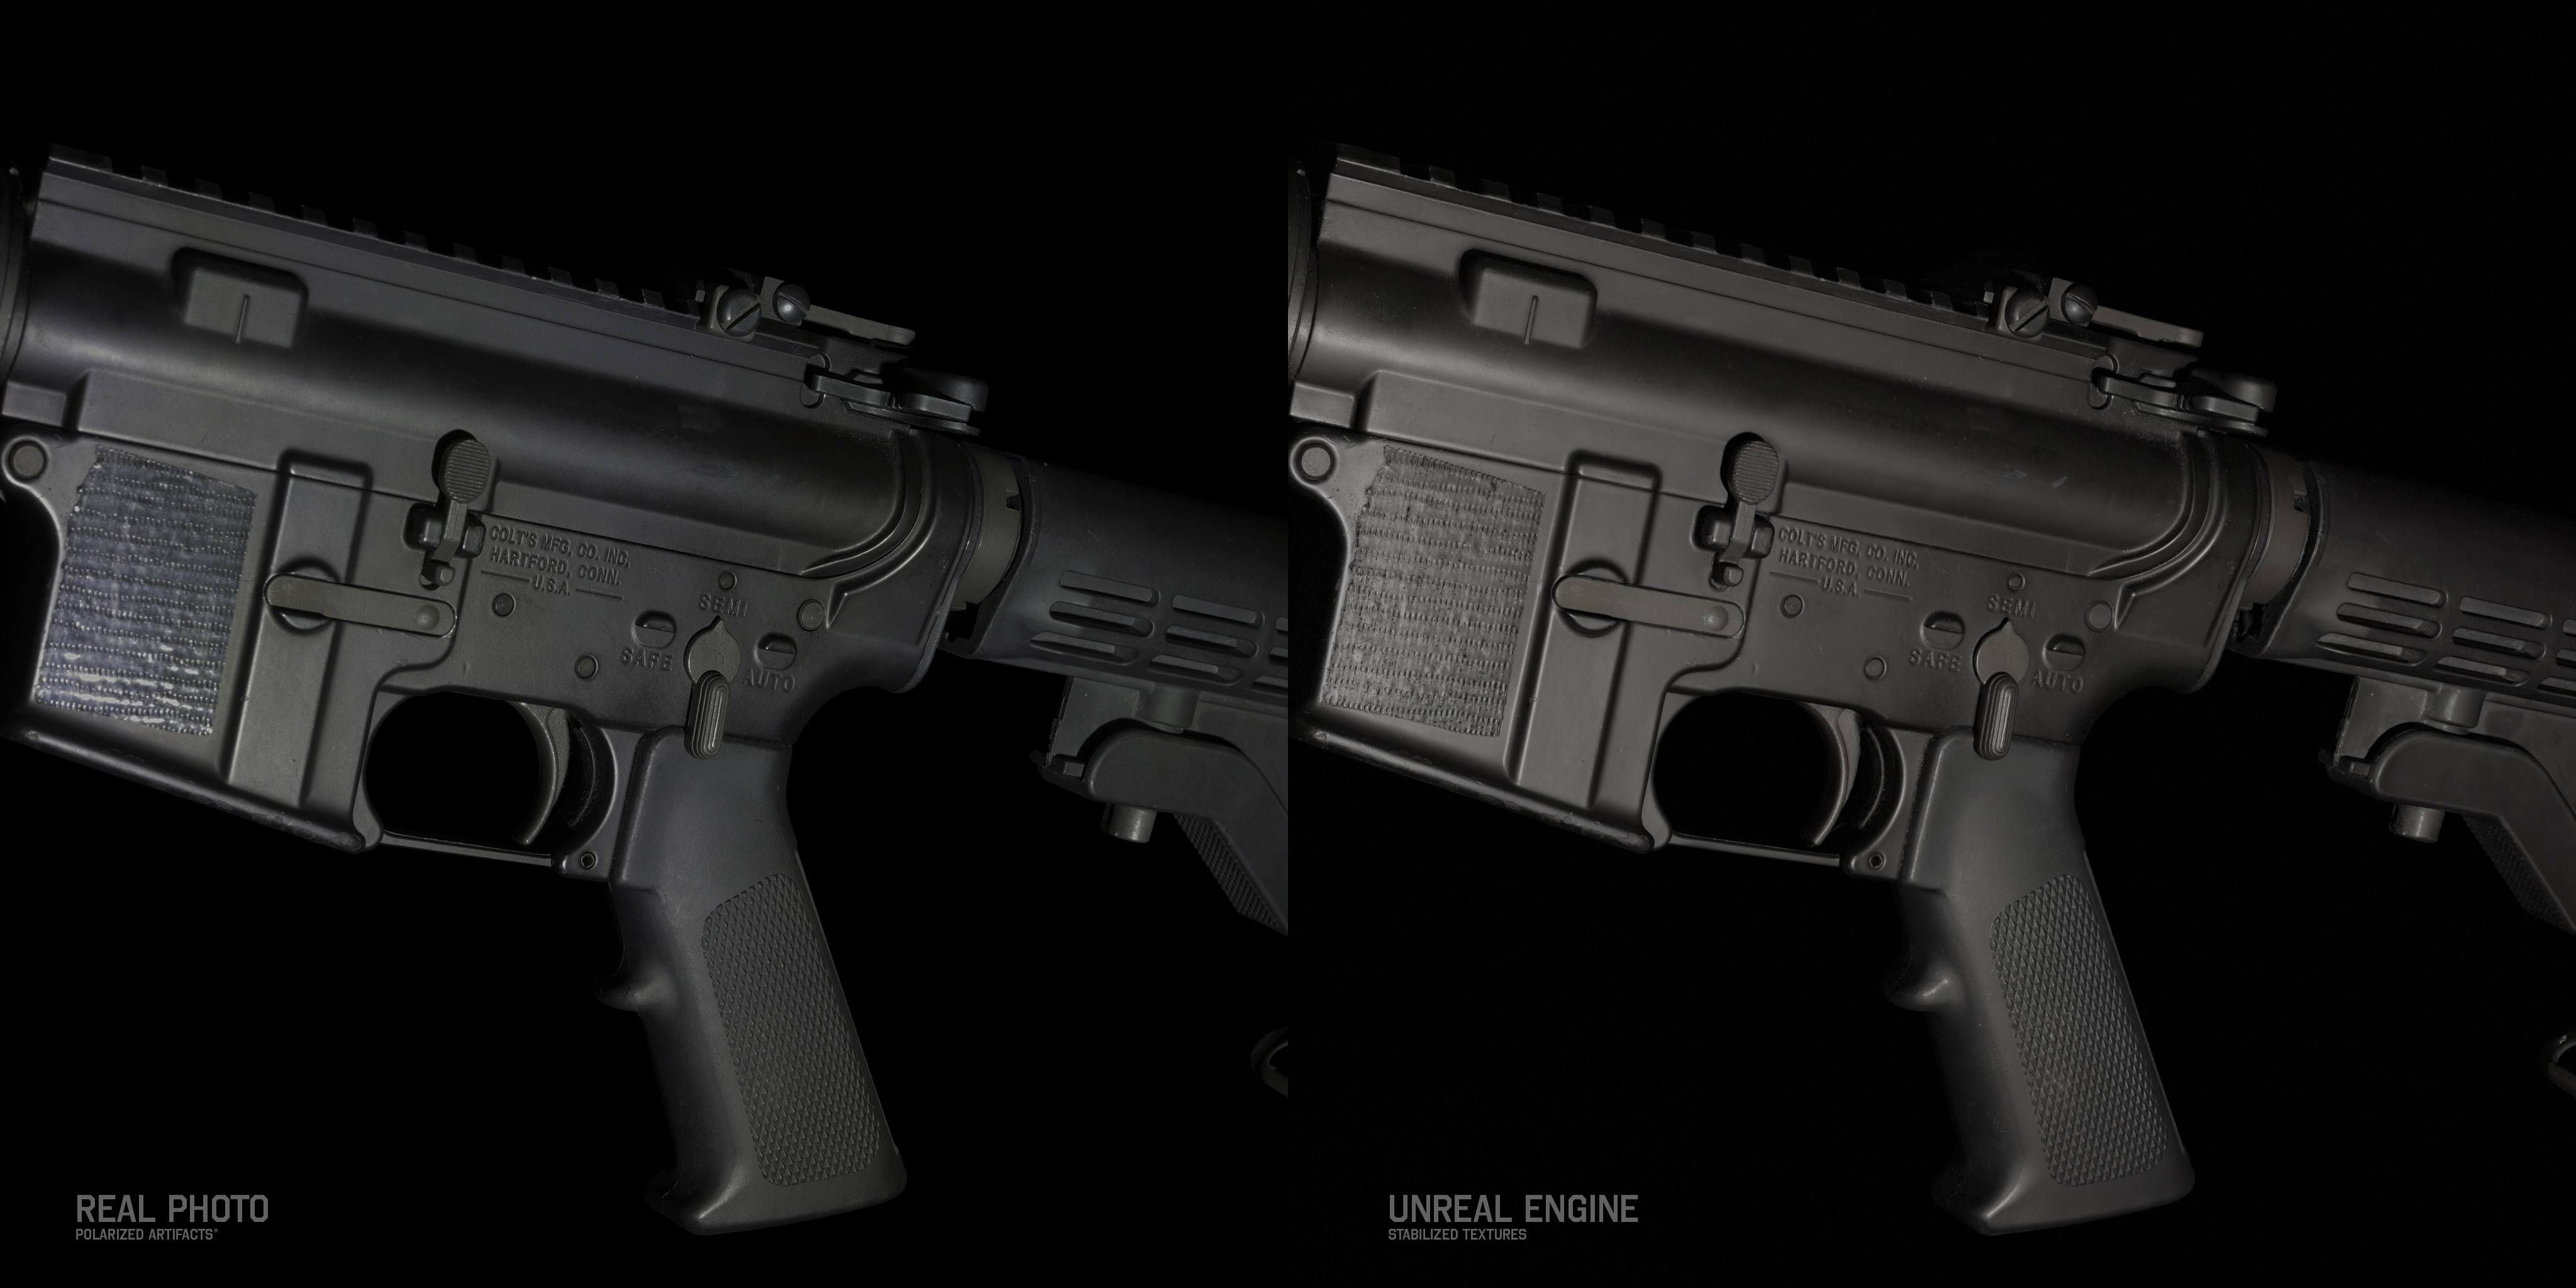
Baking
Baking transfers high-poly detail to texture maps used by the low-poly mesh. A clean result depends on preparation: fixed triangulation, organized bake groups, controlled overlaps, a validated cage, and a clear understanding of what a normal map can and cannot correct.
Baking is the process of transferring detail from high-poly geometry to a low-poly mesh through specially encoded texture maps. These maps allow the real-time asset to preserve the visual complexity of the high-poly model while staying within a practical performance budget.
Before sending the high-poly and low-poly meshes into the baker, several preparation steps are important.
Preparing the Asset for Baking
Triangulate the low-poly before export, move mirrored shells outside the main 0–1 tile during baking, and separate intersecting parts into consistently named _low and _high groups. This prevents mismatched triangulation and unwanted projection between parts.
First, the low-poly mesh should be triangulated before export. If this is not done manually, the baker or game engine will triangulate the mesh automatically, and the result may not match the triangulation from the original DCC package. Even small triangulation differences can change shading and produce visible bake artifacts.
Second, mirrored or overlapping UVs should usually be moved outside the main 0–1 UV space during baking. A common approach is to shift mirrored shells to the next UDIM tile. This helps prevent ambient occlusion, normal map projection, or asymmetrical shadowing from being baked incorrectly across mirrored parts.
Third, identical or intersecting elements should be separated into bake groups. A reliable method is to use consistent naming conventions, such as:
partname_low
partname_high
This allows the baker to automatically match each low-poly element with its corresponding high-poly source. It also prevents unrelated geometry from projecting onto the wrong surface. For large assets, this naming process can be automated with scripts or existing pipeline tools.
Once these steps are complete, the asset can be imported into the baking software.
Baking Tool
Marmoset Toolbag is the primary example in this workflow because it combines fast iteration, high-quality preview, flexible material groups, cage control, and skew painting. Controlled bevels preserve stable highlights on edges that would otherwise alias in real time.
For this workflow, Marmoset Toolbag is a strong example. In our case, it is the primary baking tool because of its speed, flexibility, preview quality, and production-friendly feature set.
For the high-poly model, we usually prepare several material groups with different bevel shader settings. These can range from very sharp bevel behavior, suitable for machined metal, to softer bevels for molded plastic, rubber, or cast parts.
Technically, part of this setup can be done before export inside the modeling software. However, Toolbag makes it convenient to validate and adjust the look during the baking stage.
If photometric or scanned PBR data is available, it can also be applied at this stage with a small bevel shader. In real life, some edges can be extremely sharp, but reproducing them too literally in real-time rendering may cause aliasing. A controlled bevel helps preserve a believable highlight without creating unstable pixels.
Maps We Bake
The core bake commonly includes Ambient Occlusion, tangent-space normals, Object ID, curvature, thickness, position, world-space normals, and sometimes bent normals. Each map supports either real-time shading or procedural texturing.
The final set of baked maps depends on the asset type, shader requirements, and texturing workflow. For weapon assets, the most common maps include the following.
Ambient Occlusion
Ambient Occlusion defines areas where surfaces receive less ambient light, usually because geometry is close together or partially enclosed.
It is useful for grounding details, emphasizing small contact areas, and supporting procedural texturing.
Tangent Space Normal Map
The tangent-space normal map stores the difference between the low-poly shading and the high-poly surface detail.
This is one of the most important maps in the workflow. It allows the low-poly model to visually reproduce bevels, cuts, grooves, screws, stamped details, and other high-poly information without carrying that geometry in real time.
For games, we usually bake in the target normal convention required by the engine, such as the DirectX orientation used by Unreal Engine 4 and 5.
Object ID
The Object ID map assigns unique colors to different high-poly objects or material groups.
This is extremely useful during texturing because it allows fast masking, material separation, procedural selection, and controlled layer generation.
Curvature
The curvature map stores information about convex and concave transitions on the surface.
Convex areas usually represent exposed edges, while concave areas represent creases, cavities, or recessed zones. This map is heavily used for procedural edge wear, dirt accumulation, scratches, and material aging.
Thickness
The thickness map represents how thick or thin parts of the mesh are.
It can be useful for subsurface effects, masks, procedural generators, and certain material behaviors. It is more common for characters, organic objects, or specific prop materials, but it can still be useful in a hard-surface pipeline.
Position
The position map encodes the absolute XYZ coordinates of the model surface within 3D space.
It is useful for generators and filters that depend on spatial information, such as world-space gradients, directional dirt, vertical masks, or world-space blur effects.
World Space Normal Map
The world-space normal map stores the direction each surface is facing in XYZ space, represented through RGB values.
It is useful for generators, directional masks, lighting-based effects, and procedural texturing logic.
Bent Normal Map
A bent normal map is similar in concept to a normal map, but it stores the average unoccluded direction of ambient light for each point on the model.
This is especially useful for vehicles and larger hard-surface assets where standard ambient occlusion may not provide enough directional information. It can help simulate more accurate ambient shading in certain workflows.
Cage, Skew, and Projection Control
The cage defines projection from low to high. Bolts, grooves, holes, and thin parts often need local skew correction. Repeated correction tasks can be automated with UV-distance masks instead of painted manually.
Before the final bake, the cage must be checked carefully.
The cage controls how the low-poly surface projects toward the high-poly model.
Skew correction is also important, especially around bolts, grooves, holes, and thin mechanical details. In Marmoset Toolbag, skew painting can be used to control projection direction in problematic areas.
This process can also be partially automated. For example, masks for offset or skew correction can be generated with Python based on UV shell distance instead of being painted manually. This adds some complexity to the pipeline, but for repeated production cases it can save time and improve consistency.
Bake Resolution and Quality Settings
Bake at twice the final texture resolution, then downsample. A strong starting point is 32x sampling, 16-bit normal maps, separated groups, a validated cage, checked skew, and exploded moving parts where intersections would contaminate AO.
For production bakes, it is usually safer to bake at 2x the final in-game texture resolution.
For example, if the final texture is intended to be 4K, the bake can be generated at 8K and then downsampled. This helps reduce aliasing and improves the quality of thin details, bevels, and high-frequency information.
A strong starting point for high-quality bakes is:
- 2x final texture resolution
- 32x sampling
- 16-bit normal maps
- Separated bake groups
- Validated cage
- Checked skew correction
- Moving parts exploded or offset when necessary
Movable or animated elements should often be shifted away from the main asset during baking. This helps prevent Ambient Occlusion intersections, especially when parts are close together in their assembled position.
Important Note About Normal Maps
Tangent-space normal maps adjust the original surface normal; they cannot replace fundamentally incorrect low-poly shading. Very steep transitions still need hard edges, UV seams, bevels, or supporting geometry.
One common issue in game assets is trying to smooth very steep angles and expecting the normal map to fix everything.
In practice, smoothing angles above roughly 75 degrees can easily produce bad shading in a game engine. The reason is that tangent-space normal maps are not designed to completely redefine the surface direction. They are pixel-based correction maps with limited bit depth and value range.
A tangent-space normal map should be understood as a vector that adjusts the original surface normal. It can correct and enhance shading, but it cannot fully replace a fundamentally different low-poly normal direction.
This is why hard edges, UV splits, and topology planning still matter.
If a surface transition is too sharp, it should usually be supported by a hard edge and a UV seam, a bevel, or better geometry. Relying only on the normal map will often result in gradients, waviness, compression artifacts, or unstable highlights.
Why Not Use Only World Space Normals?
World-space normals can suit unique static objects, but they break down with mirrored or overlapping UVs, animation, rotation, and reusable geometry. Tangent-space normals remain more flexible because the engine transforms them after the object moves into the scene.
A natural question is: if tangent-space normals have limitations, why not use world-space normal maps instead?
World-space normal maps can be useful, especially for static environment assets or unique non-deforming objects. They can sometimes reduce shader cost and avoid certain tangent-space issues.
However, they are not practical as a universal solution for game assets.
World-space normals do not work well with mirrored UVs, overlapping UVs, or animated geometry. Once the object moves, rotates, deforms, or uses shared texture space, the world-space direction stored in the texture no longer behaves correctly.
In modern game engines, tangent-space normals are transformed into world space during rendering, after the object has been placed and transformed in the scene. This makes tangent-space normal maps much more flexible for animated assets, weapons, characters, and reusable geometry.
World-space normal maps can still be forced in specific cases, but they are usually better suited for unique static environment assets rather than interactive assets.
Production Principle
A clean bake is the bridge between high-poly detail and real-time performance. Preparation matters more than trying to repair projection and shading problems after the bake.
A clean bake is not just a technical checkpoint. It is the bridge between high-poly detail and real-time performance.
Good baking depends on preparation: correct triangulation, clean UVs, controlled smoothing, proper cage setup, organized naming, separated bake groups, and a clear understanding of what normal maps can and cannot solve.
For VR weapon art, bake quality is especially important because the player will inspect the asset at close range. Any projection error, shading artifact, skewed detail, or unstable highlight becomes much more visible in stereo and in motion.